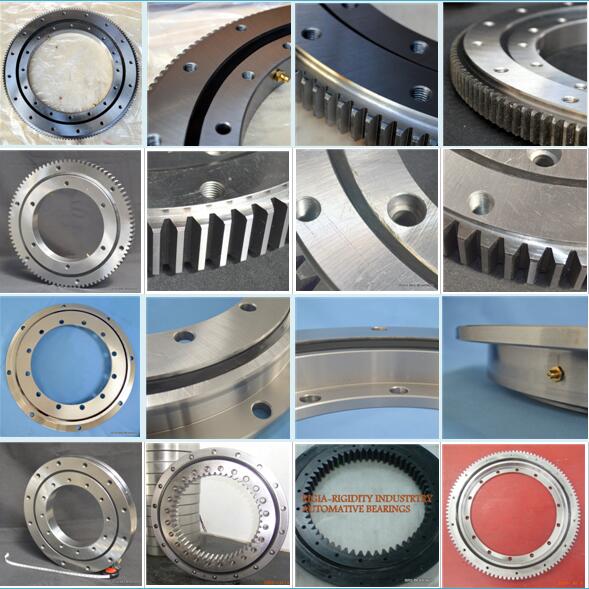
Bearing Quality Control Process
To ensure the quality of each bearing manufactured by BRS, we have established a strict quality control system throughout the entire manufacturing process.
From raw materials organization, production, packaging to shipment, BRS has strict QC standards and related documents to prove the quality.
BRS Bearing Quality Control Process
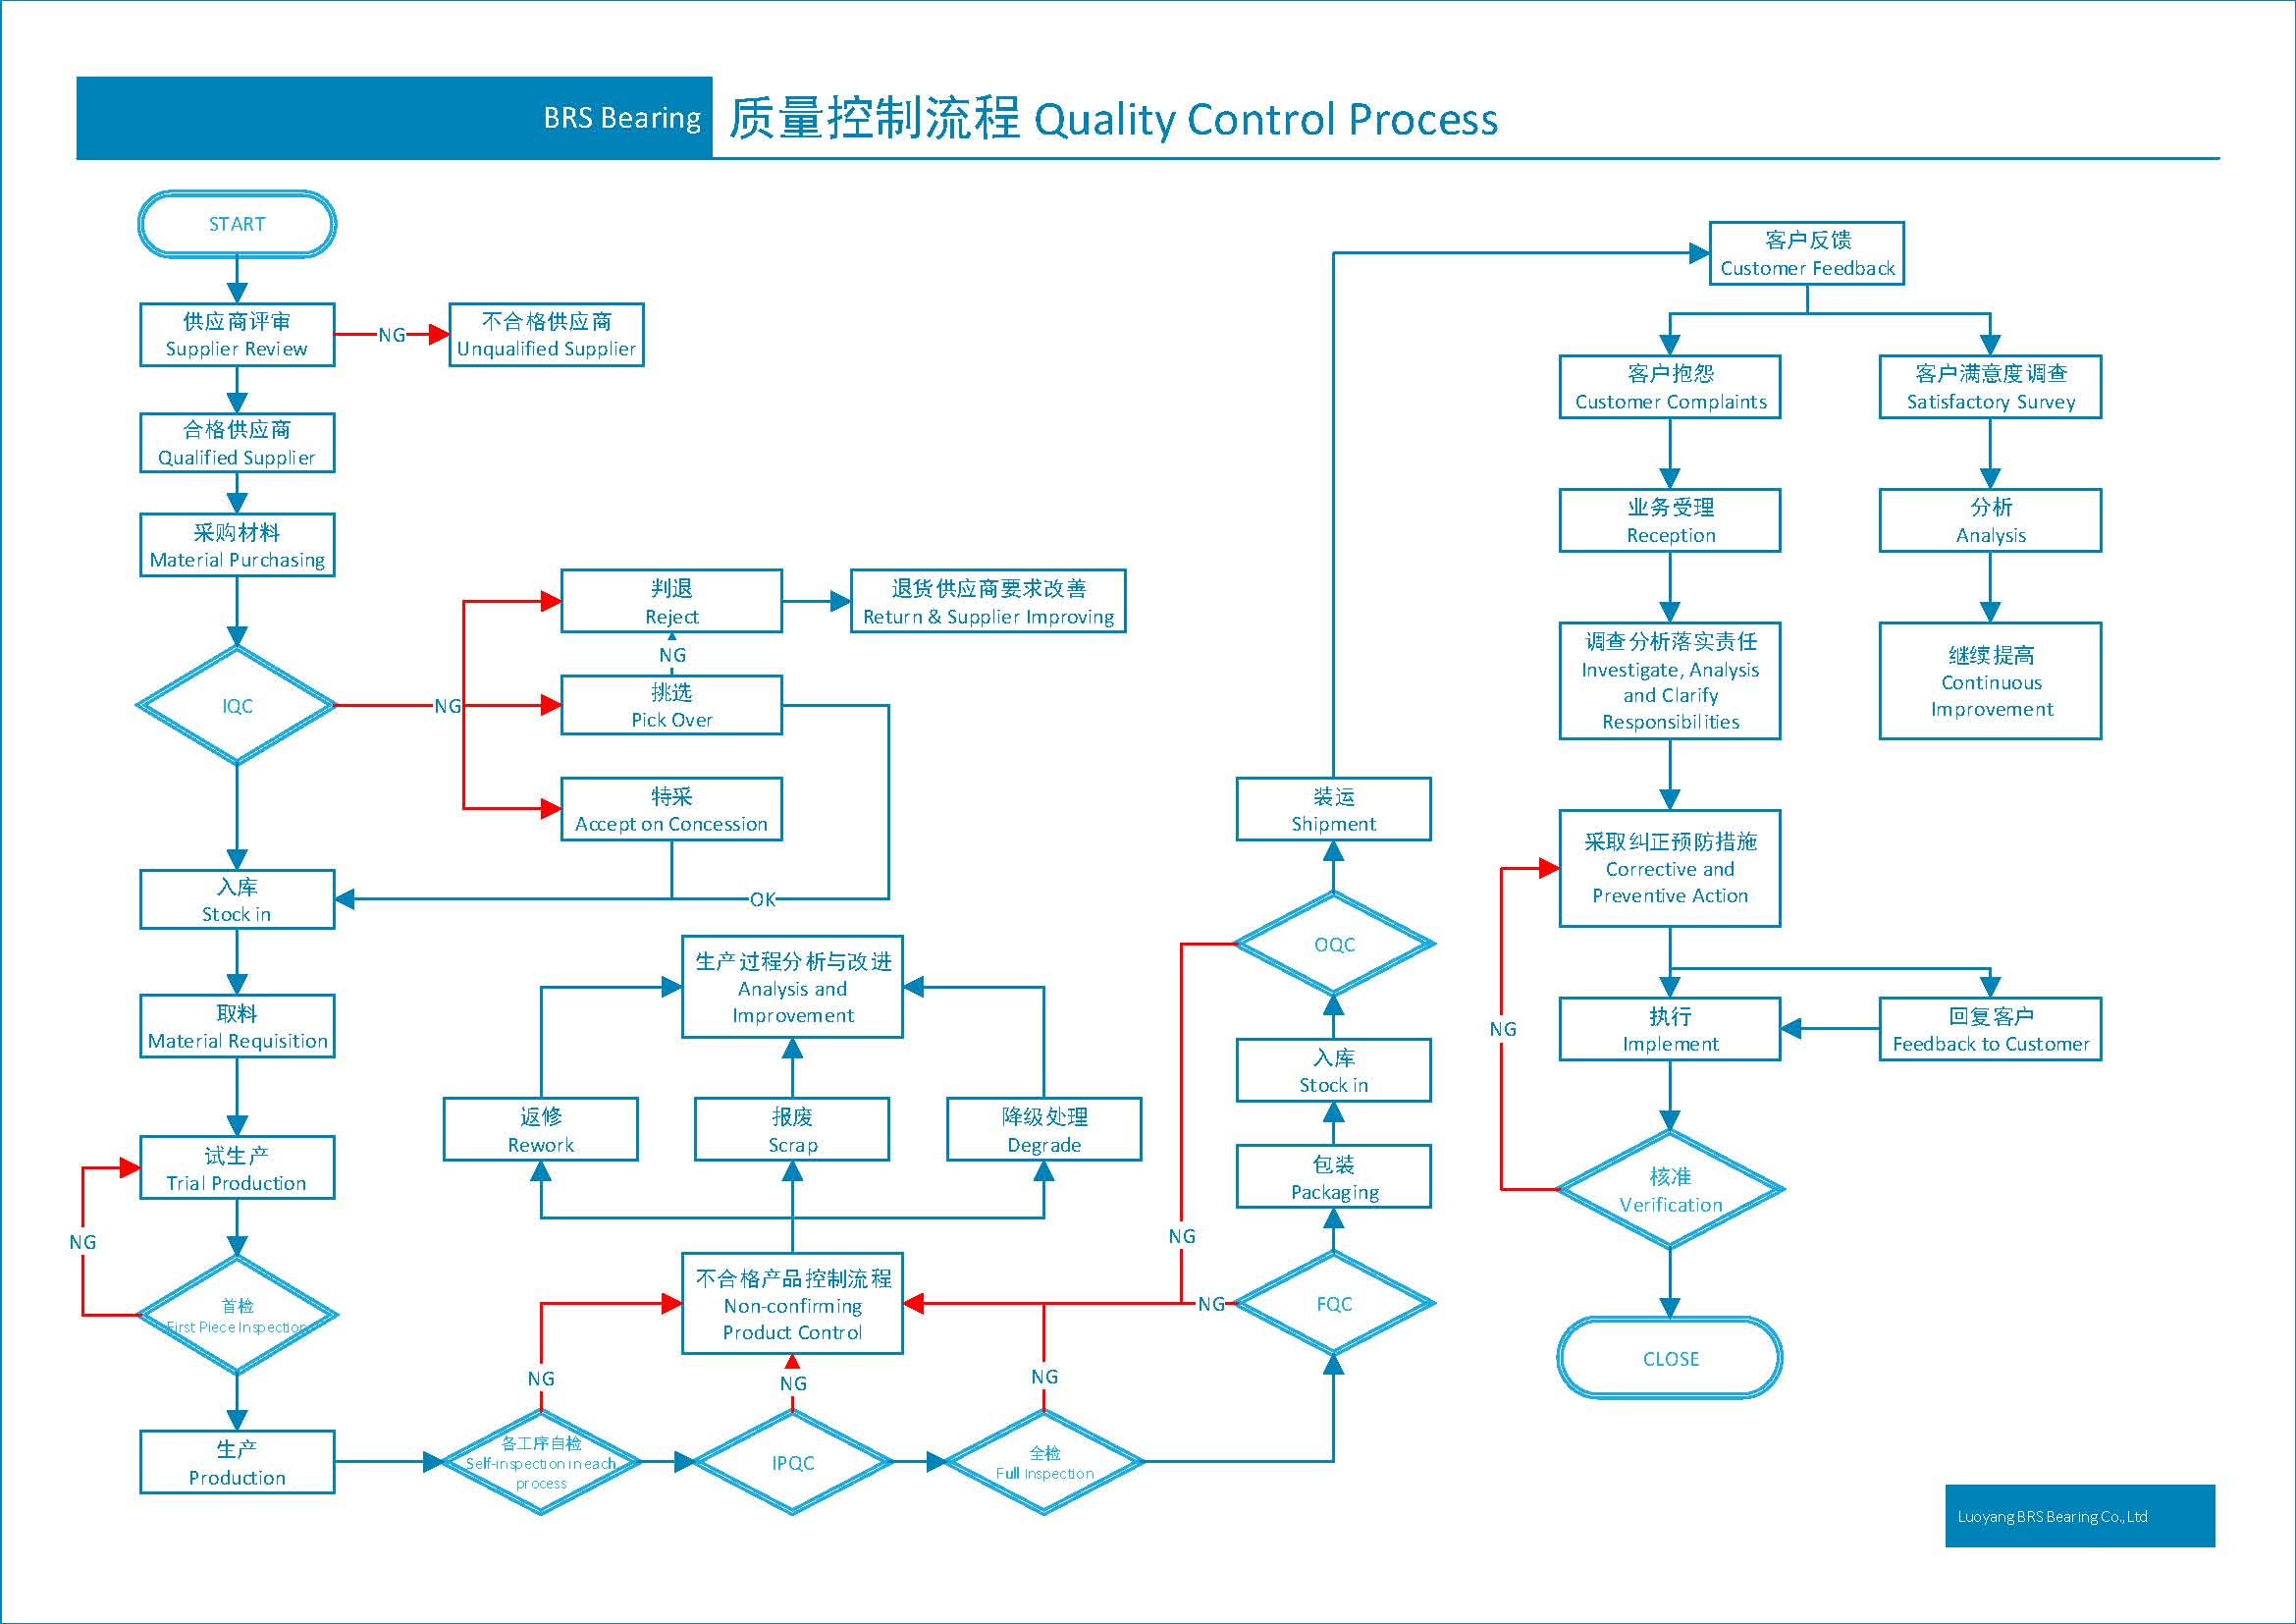
Bearing Quality Control Documents Example
Raw material organization - Raw material certificate, forgings ultrasonic test report.
Processing - Dimension inspection report, hardness inspection report.
Assembly - Rotation accuracy inspection report, components inspection.
Bearing Quality Inspection Facility
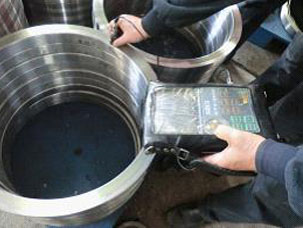
Ultrasonic surface waves mainly propagate along the surface of the medium. They can propagate directionally in a uniform medium with little energy attenuation. They can travel a long distance. The energy is mainly concentrated at a wavelength from the surface depth. If it encounters a small defect, such as pores, cracks, etc., will be reflected on the interface between metal and air, and this reflected wave can be displayed on the screen to obtain defect wave signals. This is a reliable method for detecting bearing surface defects.

Bearings are subjected to great pressure and friction during work, so the bearing steel is required to have a high and uniform hardness and wear resistance, as well as a high elastic limit. The uniformity of the chemical composition of the bearing steel, the content and distribution of non-metallic inclusions, and the distribution of carbides can all be detected by a metallographic test. Only qualified materials can guarantee the quality and service life of the bearing.
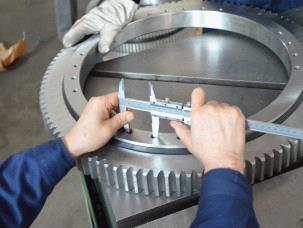
BRS uses vernier caliper or standard parts to measure and inspect the dimension of bearing products.
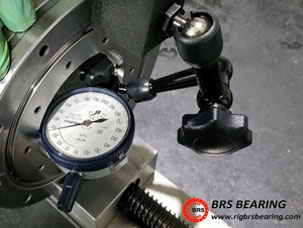
BRS uses a dial gauge to test the rotation accuracy of crossed roller bearings and slewing bearings.
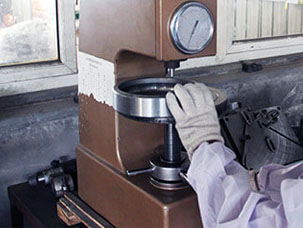
Rockwell hardness tester is very common for the bearings hardness test. Usually, if bearings are after case hardening, then the hardness is around HRC 20~27. If it's overall hardening, the hardness of the bearing can reach to HRC 58~62.

